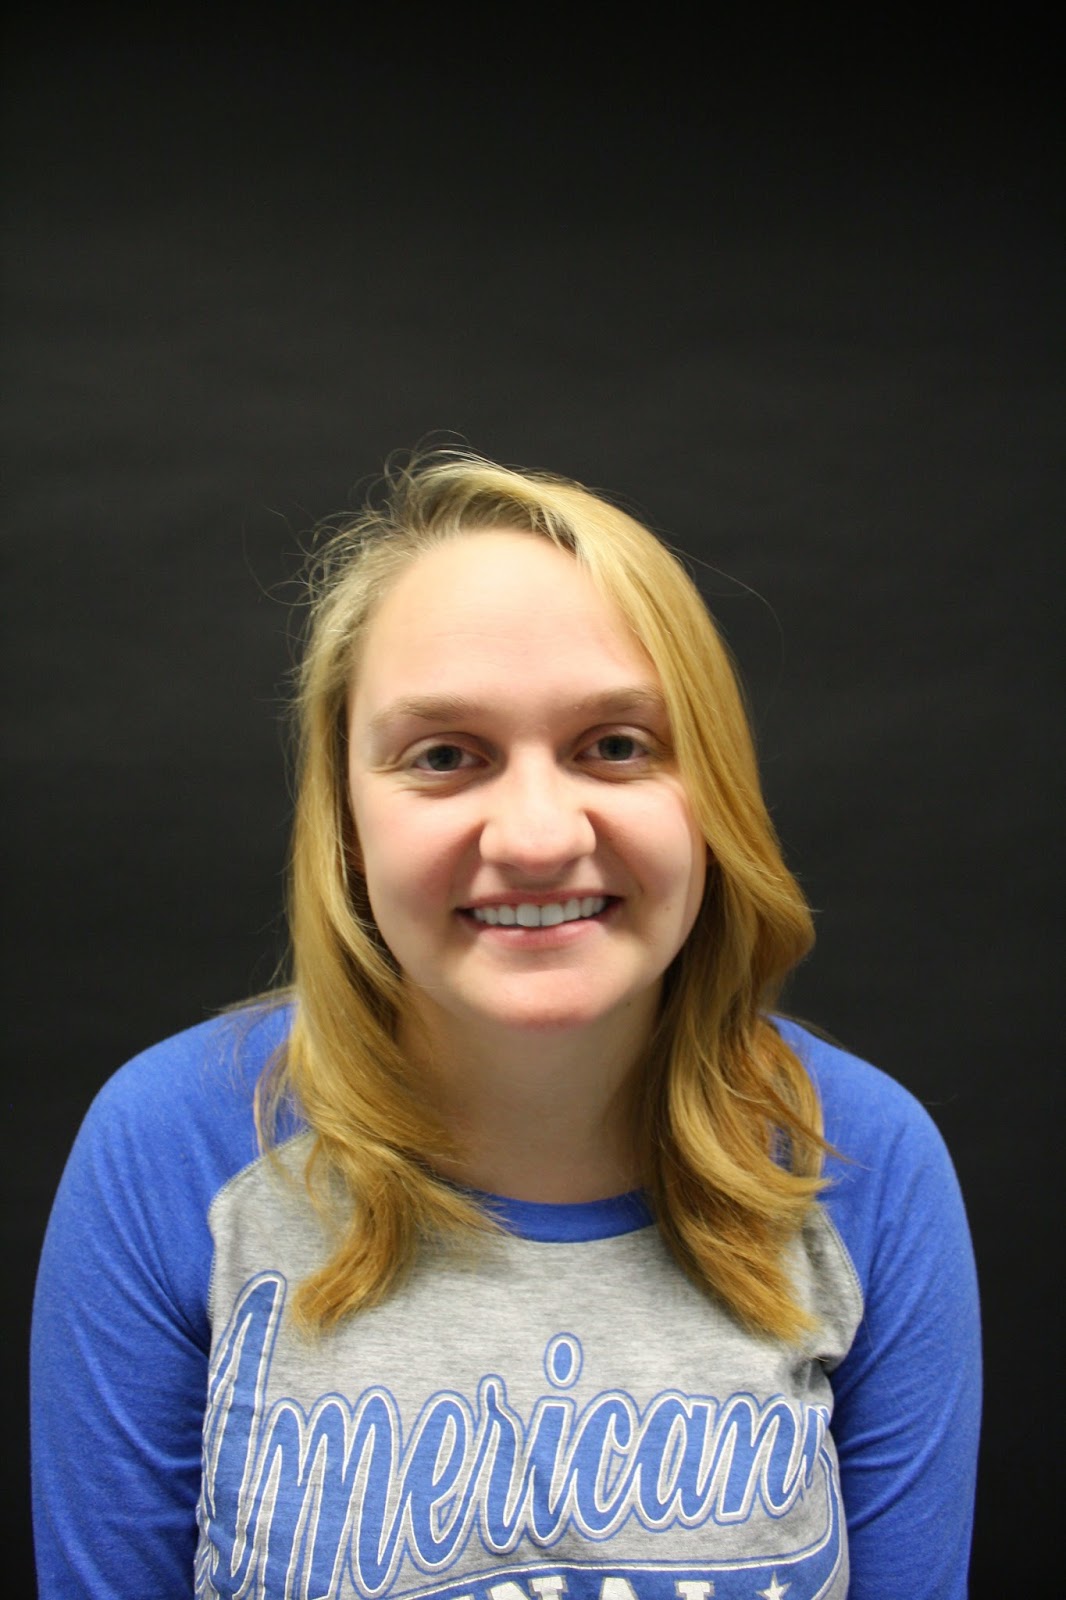
 You should look at these images in a zig zag pattern from left to right or if you click on the first image to make it larger you can view them as a slideshow. The image on my left is the original image and the images thereafter are a step by step presentation of how I edited the original image in order to get to my final/best edit. In the first edit I made the models teeth whiter and I did this through the same process as in my initial shots by using the lasso tool to select the area I wanted, then selecting yellows and decreasing the saturation to -100 to remove the yellow from the teeth leaving them whiter and using the lightness slider to brighten the teeth. However when I did this it brightened the area around them so I filled the layer mask with black and used the brush tool and painted over the teeth with white to bring the whitening and brightening back. I also set the opacity of the layer to 75% so the teeth looked more of a natural white rather than being over brightened and whitened. In the second edit I have made
it look as if the model is wearing lipstick as i
 added more colour too them. I did this by using the lasso tool to select the area of the lips I wanted and then I dragged the hue slider along till I got a nice pink shade I wanted that wasn't too overdone. In the third edit I have used the spot healing brush tool in order to remove all the blemishes, freckles and spots on the model and then I neatened up her eyebrows so they weren't as bushy. I did this by using the liquify tool and then using the forward warp tool with a brush size of 40, brush density of 20 and a
 brush pressure of 30 around the eyebrows to make them look longer and thinner. The movements were up-down at the top and down-up at the bottom. In my fourth edit I was focusing on making the models nose smaller and thinner so I used the liquify tool and used the forward warp tool again using a smaller brush size for the top of the nose and a larger brush size for the bottom, using movements going towards the nose. Then I used the pucker tool to make the smile lines look smaller and better. In this edit I also used the liquify tool and forward warp tool again in order to make the models face, head and body thinner and smaller using a large brush size of 300.

No comments:
Post a Comment